




Update: BOA added 8 free video tutorials on Photoshop offered by Gareth David Studio
Author: JD
Visual Thinking: The Hidden Gifts of People Who Think in Pictures, Patterns, and Abstractions
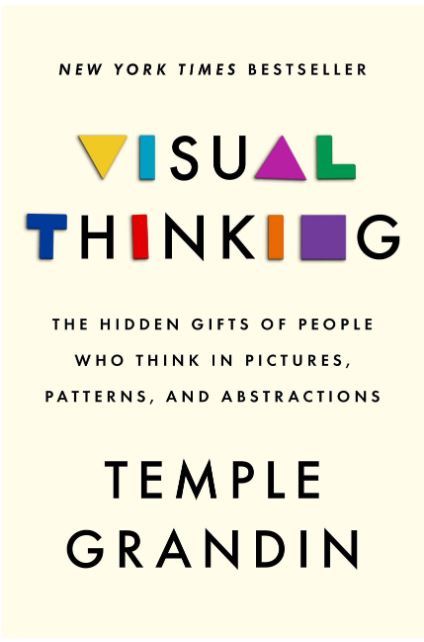
Author: Temple Grandin
A quarter of a century after her memoir, Thinking in Pictures, forever changed how the world understood autism, Temple Grandin— “an anthropologist on Mars,” as Oliver Sacks dubbed her—transforms our awareness of the different ways our brains are wired. Do you have a keen sense of direction, a love of puzzles, the ability to assemble furniture without crying? You are likely a visual thinker.
With her genius for demystifying science, Grandin draws on cutting-edge research to take us inside visual thinking. Visual thinkers constitute a far greater proportion of the population than previously believed, she reveals, and a more varied one, from the photo-realistic “object visualizers” like Grandin herself, with their intuitive knack for design and problem solving, to the abstract, mathematically inclined “visual spatial” thinkers who excel in pattern recognition and systemic thinking. She also makes us understand how a world increasingly geared to the verbal tends to sideline visual thinkers, screening them out at school and passing over them in the workplace. Rather than continuing to waste their singular gifts, driving a collective loss in productivity and innovation, Grandin proposes new approaches to educating, parenting, employing, and collaborating with visual thinkers. In a highly competitive world, this important book helps us see, we need every mind on board.
Art and Design Fundamentals by Steven Bleicher (Author)
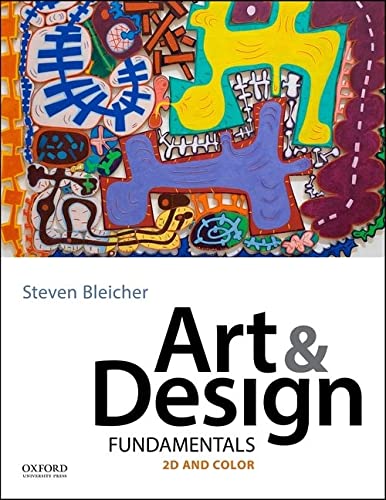
Written for visual learners, Art and Design Fundamentals offers thorough yet succinct coverage of both traditional topics and new technologies. Details are crucial to Art and Design Fundamentals; diverse visual examples highlight new perspectives, encourage cultural awareness, and support an equal emphasis on male and female artists. Students and professors alike will appreciate its logical organization, recommended projects, and resources that encourage detailed image analysis and illustrate how art and design principles and elements work together. Art and Design Fundamentals’ robust suite of digital resources and wealth of projects help students hone the skills they need to produce exceptional work in a dynamic field.
Update: BOA added 7 new online courses in Graphic Design, Interior Design, Web Design, UX/UI Design and Architecture offered by Simpliv LLC, Skill Success, Benchmarq Limited and EduCBA
Update: BOA added 7 new online courses in Graphic Design, Interior Design, Web Design, UX/UI Design and Architecture offered by Simpliv LLC, Skill Success, Benchmarq Limited and EduCBA
Update: BOA added 7 free video tutorials offered by FZDSCHOOL
Update: BOA added 7 free video tutorials offered by FZDSCHOOL

BE OPEN: Digital Collaboration of Technology in Educational Sector Pt.2
eLearning leads to improving collaboration and engagement, incorporating different learning styles and connecting the educators with their students. The government also actively participates with several policies to boost digital education. The accessibility and affordability of the internet provide access to education to a large audience and leads to the great advances in eLearning education.
Advantages Of Technology in Education
With the collaboration of technology in our education system, learning becomes more interactive, engaging, and motivating. It has benefited students as well as teachers in many ways as it expands access to education. Using technology, students have easy access to information, accelerated learning, and fun opportunities to practice what they learn. It allows students to discover new subjects and gain a deeper understanding of difficult concepts.
Students are actively involved and participating. Utilizing eLearning leads to better retention of knowledge and higher productivity, and also develops a social platform for learners, establishing a positive environment. Meanwhile, it also transforms the way educators teach and students engage in eLearning classes.
1. Individual Learning Experience
With traditional education, it can become difficult for individual students sometimes to keep abreast with the class. But eLearning platforms can provide them with an individual learning experience, and also increase their engagement, encouraging them to learn at their own pace. Students can learn from any eLearning platform individually.
2. Unlimited Information
The emergence of eLearning makes students explore a vast amount of information to seek the knowledge in which they are interested. There are no boundaries set for their interest. They get unlimited access to information.
3. Innovative Learning
To help students, teachers are using more tech-savvy methods to make learning more innovative and interesting. Teachers provide study material to their students and guide them according to their ability with various eLearning methods.
4. Digital Update
The internet is a vast storage space full of information, technology, and data and thus individuals can fall behind this ever-evolving information and technology. But with the help of technology, everyone can keep digitally updated.
5. Time Saving
eLearning can save a lot of time by sharing and preserving information. Instead of making handmade notes, teachers and students can easily make and share their notes digitally in the cloud instead.
6. Individual Interaction
Face-to-face interaction takes place with the educators and thus empowers students to reach their goals. Students and educators get one-to-one interaction on eLearning platforms.
7. Personalized Learning Experience
The benefit of technology has added the benefit of being able to learn from anywhere, at any time. It has allowed students access to educational resources 24/7. Teachers are also able to generate classes for students based on their strengths and interests. If students have any questions about a particular concept, they can also review the lesson for better understanding.
Logo Modernism by Jens Müller (Editor), Julius Wiedemann (Editor), R. Roger Remington (Author)
 An unrivaled resource for graphic designers, advertisers, and branding specialists, Logo Modernism is equally fascinating to anyone interested in social, cultural, and corporate history, and in the sheer persuasive power of image and form.
This unprecedented TASCHEN publication, authored by Jens Müller, brings together approximately 6,000 trademarks, focused on the period 1940–1980, to examine how modernist attitudes and imperatives gave birth to corporate identity. Ranging from media outfits to retail giants, airlines to art galleries, the sweeping survey is organized into three design-orientated chapters: Geometric, Effect, and Typographic. Each chapter is then sub-divided into form and style led sections such as alphabet, overlay, dots and squares.
Alongside the comprehensive catalog, the book features an introduction from Jens Müller on the history of logos, and an essay by R. Roger Remington on modernism and graphic design. Eight designer profiles and eight instructive case studies are also included, with a detailed look at the life and work of such luminaries as Paul Rand, Yusaku Kamekura, and Anton Stankowski, and at such significant projects as Fiat, The Daiei Inc., and the Mexico Olympic Games of 1968. An unrivaled resource for graphic designers, advertisers, and branding specialists, Logo Modernism is equally fascinating to anyone interested in social, cultural, and corporate history, and in the sheer persuasive power of image and form.
Inspired: Understanding Creativity: A Journey Through Art, Science, and the Soul
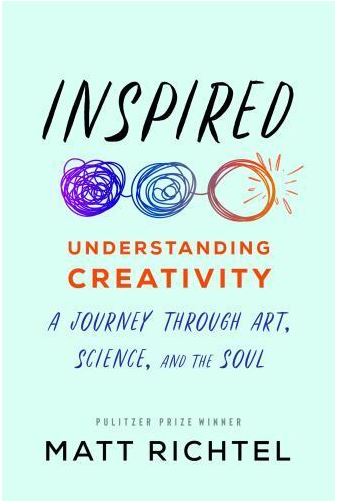
Editor: Matt Richtel
How does creativity? Where does inspiration come from? What are the secrets of our most revered creators? How can we maximize our creative potential?
Creativity defines the human experience. It sparks achievement and innovation in art, science, technology, business, sports, and virtually every activity. It has fueled human progress on a global level, but it equally is the source of profound personal satisfaction for individual creators. And yet the origins of creative inspiration and the methods by which great creators tap into it have long been a source of mystery, spoken of in esoteric terms, our rational understanding shrouded in complex jargon. Until now.
Inspired is a book about the science of creativity, distilling an explosion of exciting new research from across the world. Through narrative storytelling, Richtel marries these findings with timeless insight from some of the world’s great creators as he deconstructs the authentic nature of creativity, its biological and evolutionary origins, its deep connection to religion and spirituality, the way it bubbles in each of us, urgent and essential, waiting to be tapped.
Many of the questions Richtel addresses are practical: What are the traits of successful creators? Under which conditions does creativity thrive? How can we move past creative blocks? The ultimate message of Inspired is that creativity is more accessible than many might imagine, as necessary, beautiful, and fulfilling as any essential part of human nature.
Update: BOA added 8 new online courses in Animation by LinkedIn Learning
Update: BOA added 8 new online courses in Animation by LinkedIn Learning

BE OPEN: Digital Collaboration of Technology in Educational Sector Pt.1
Using technology in education results in introducing engaging ways of learning and has changed the face of the traditional education system completely. Using technology, students have easy access to information, accelerated learning, and fun opportunities to practice what they learn.
Use of Technology in Education
Technology or eLearning has become very crucial in education as it provides everything that modern learners need. Collaborating technologies in learning have enhanced learners’ interaction in the classroom. It is also cost-effective as compared to traditional learning and saves lots of time and money, by reducing even transportation costs.
Collaboration of Technology with Education
Education is no more limited to the school, textbooks, and classrooms. Digital collaboration using technology, also known as technology enhanced learning (TEL) or eLearning, has become an innovative use of modern technology and digital tools to assist the progress of teaching and learning. With digital education, it becomes easy to seek education through the means of technology. Individual classes have been tailored to meet the needs of students.
The concept of eLearning is not new to the world as it has been existing in various forms for many years now. But with ever-evolving technology and the emergence of the internet, eLearning has reached new heights. There have been several developments, and eLearning apps have made it easier for students to access education. Educators also leverage technology to expand learning opportunities for students to achieve new levels of productivity.
Top Technologies in Educational Sector
Collaboration of technology with education facilitates a collaborative approach that also helps teachers deliver more dynamic learning experiences. With the use of technology in eLearning platforms, students are provided with easy-to-access information, fun activities to practice their learning, and advanced learning experiences [1]. Here are some of the technologies used in the education sector.
- Digital classrooms
- AR/VR technologies impacting eLearning
- Cloud computing for sharing data
- Smartphones, tablets, and laptops
- Audiobooks and video conferencing
- eLearning apps
- Gamified learning